The MAX App allows users to join and participate in MAX Connect-hosted meeting sessions using their Windows desktop device.
Download and install the Windows desktop version of the MAX Connect app from biamp.com's Downloads page.
Note: The device must be connected to the same LAN or WiFi network as the MAX Connect.
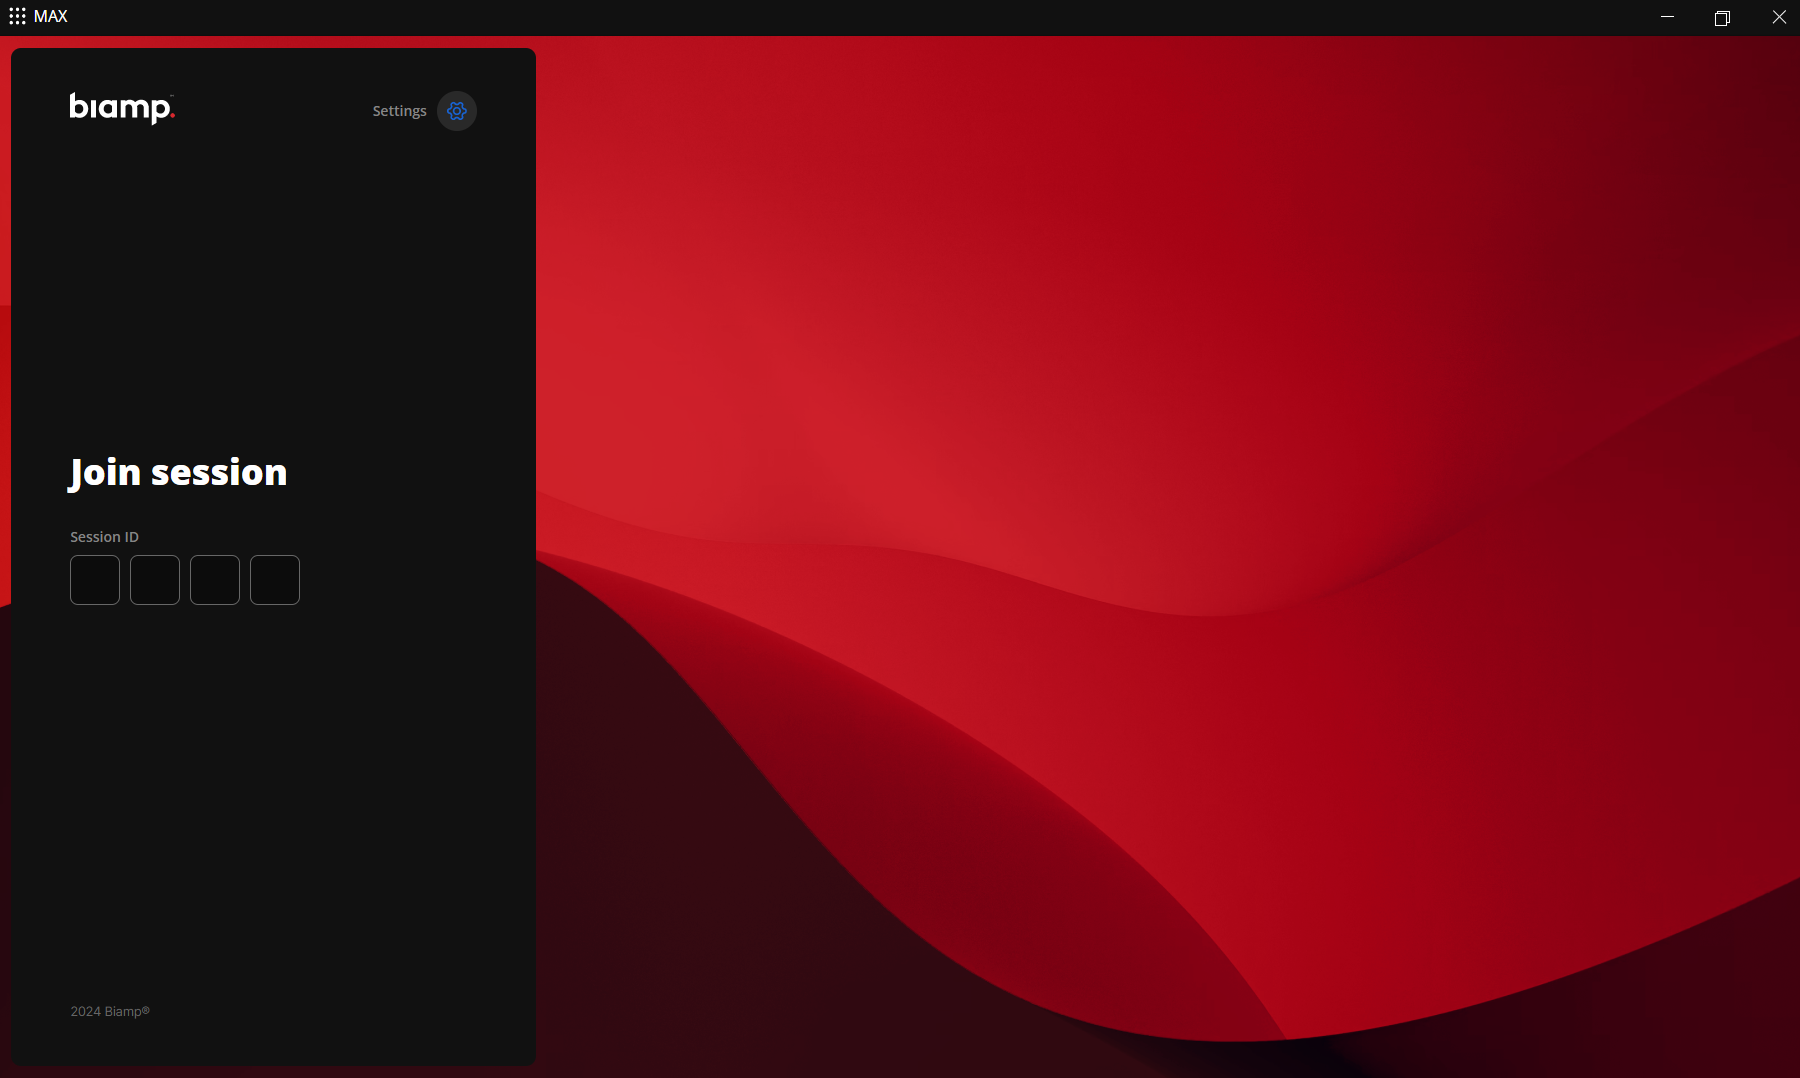
1. After installation, open the app.
2. Enter a screen name and (optional) picture.

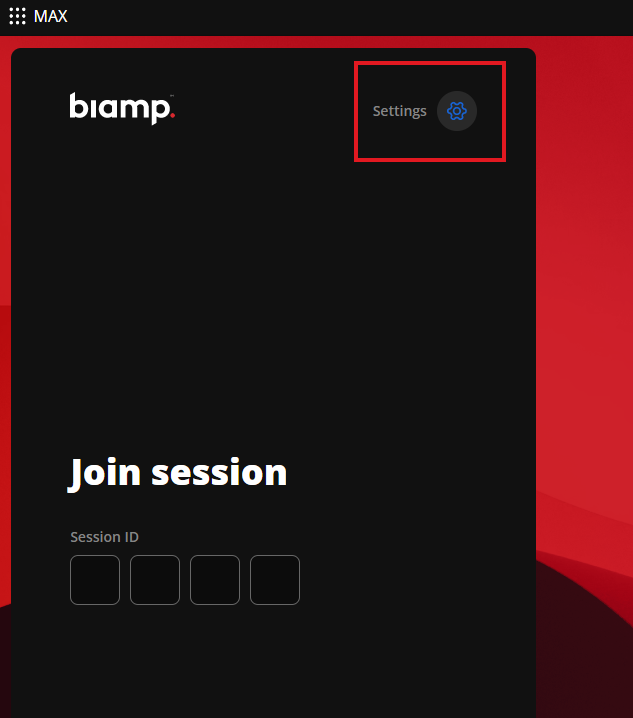
3. During your first sign-in Enter the 4-digit Session ID and IP address displayed on the room's Welcome Screen to join the session.
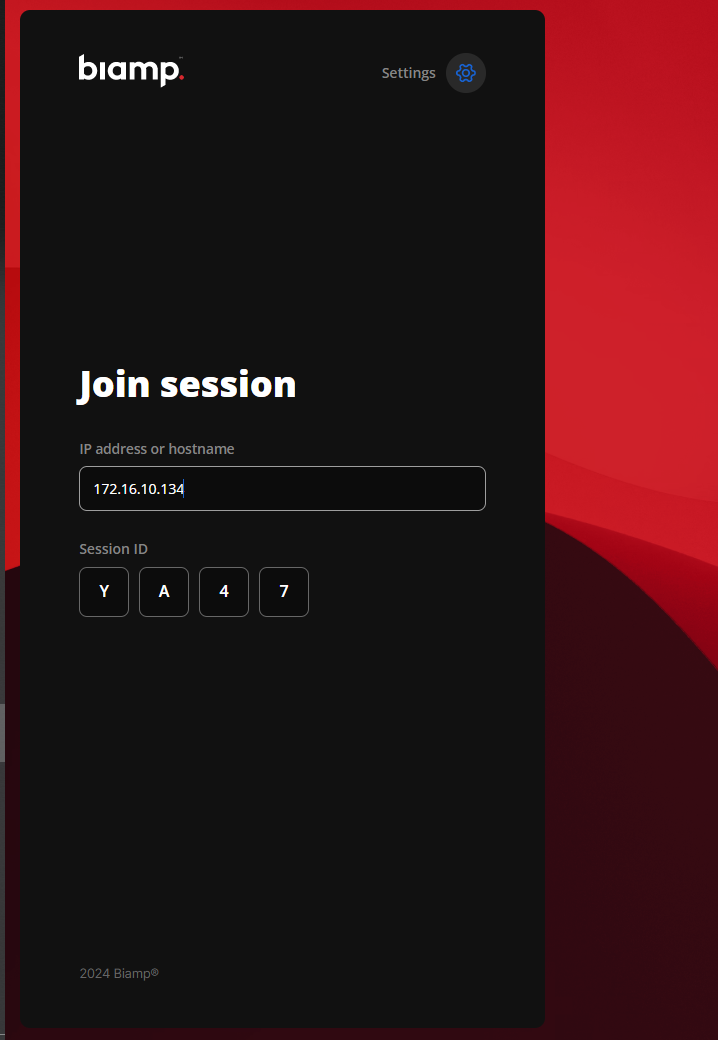
Future sessions connected to the MAX Connect will not require inputting the IP address.
Optional: You may set a user name and add a user photo before joining by clicking on the Settings icon and then the User settings tab. See the Settings section below.
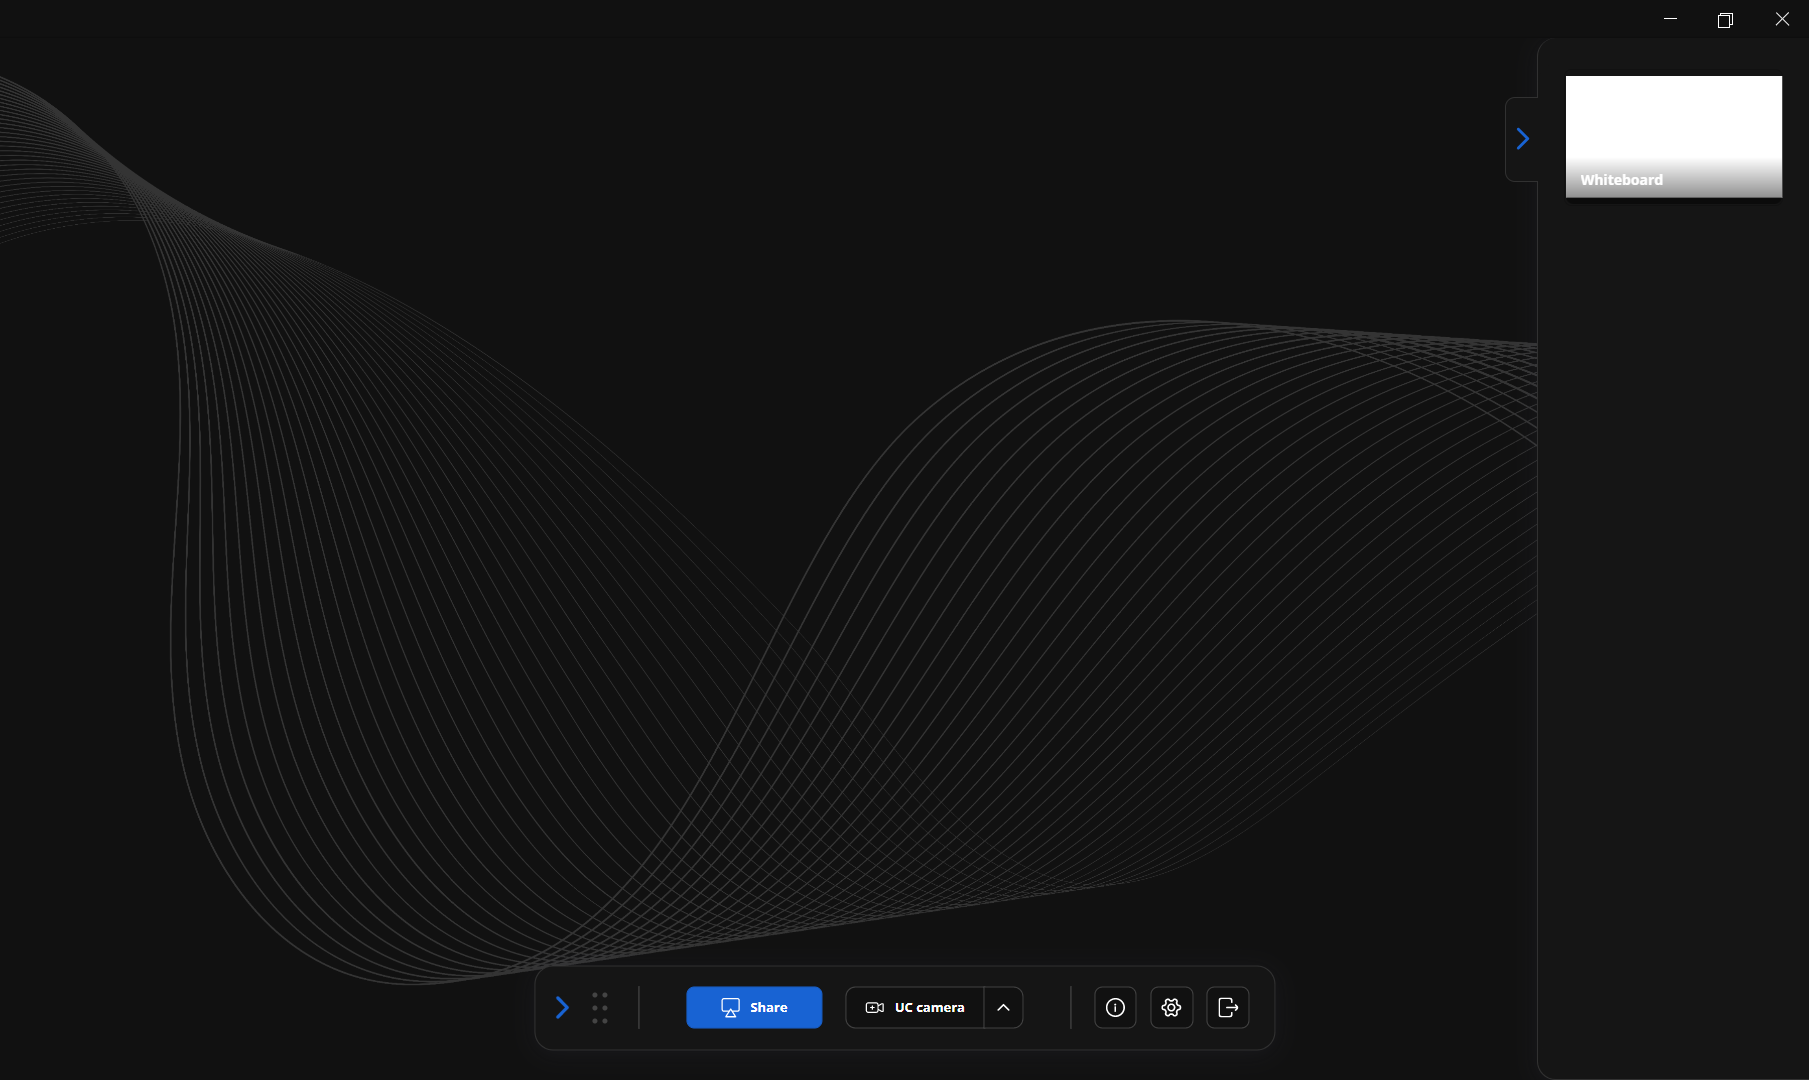
A tool bar can be found at the bottom of the session home page.
Shareable content can be found in the content pane on the left of the page.


From left to right, the tool provides controls for:
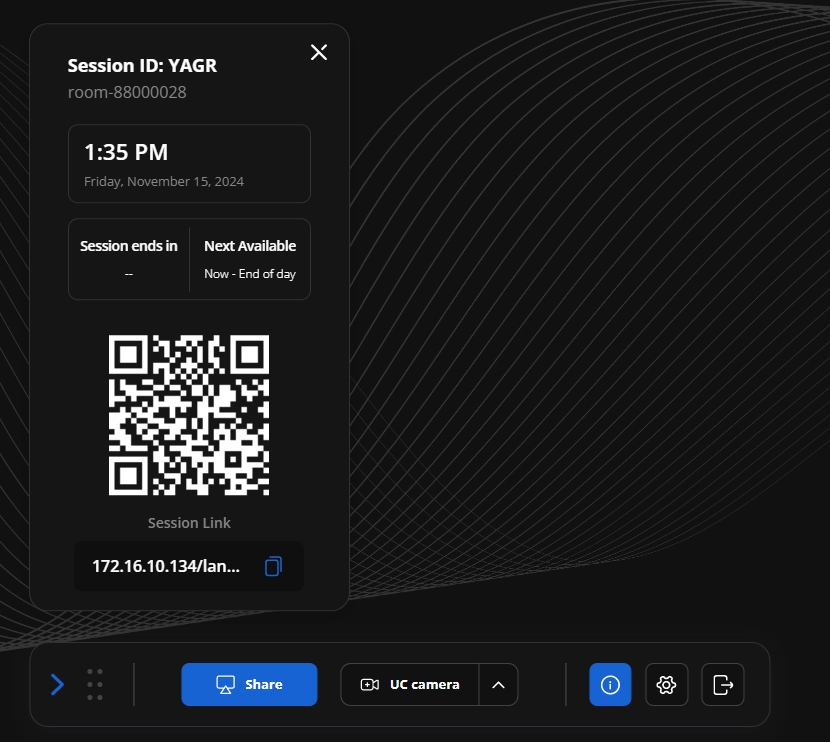
On the home screen, click the "i" information icon to:
The Whiteboad is found in the collapsible display pane on the right side of the page.
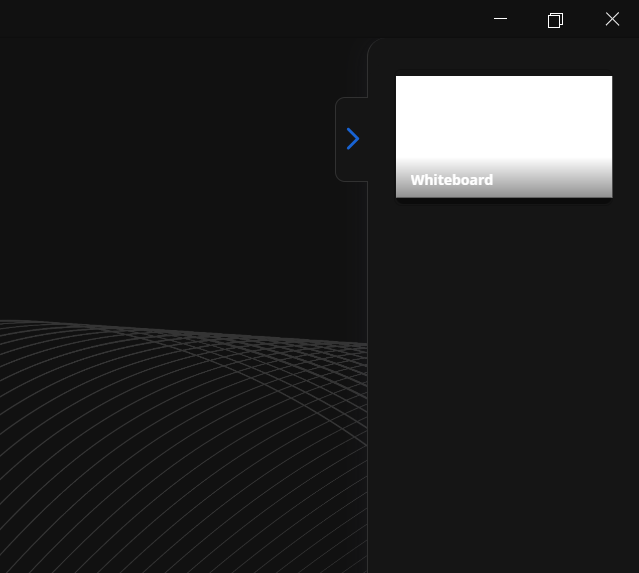
1. Click on the whiteboard to display it on the primary monitor.
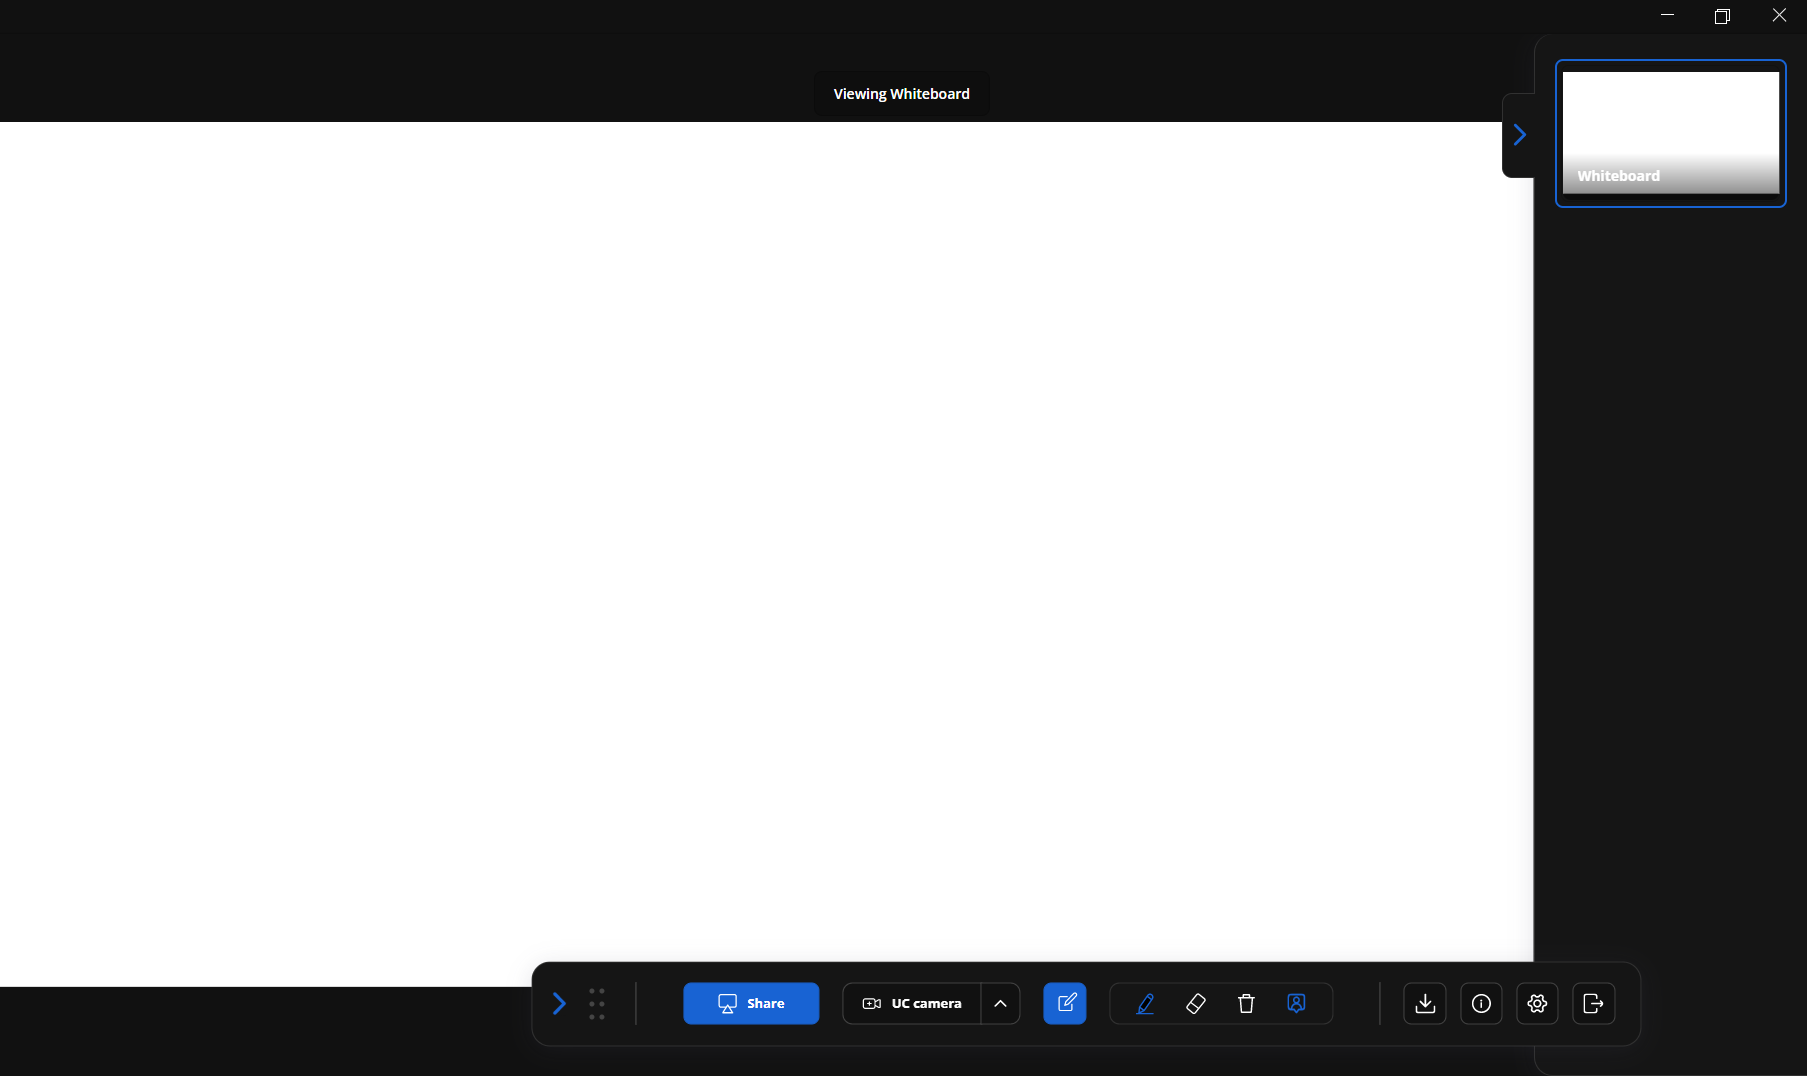
Click the Annotate & Display Toolbar button to access the drawing toolbar.

The annotation tool bar provides tools for drawing on the whiteboard.

Settings can be accessed from the Join Session page or the Session Toolbar.
Join Session Settings Button
Session Toolbar Settings Button

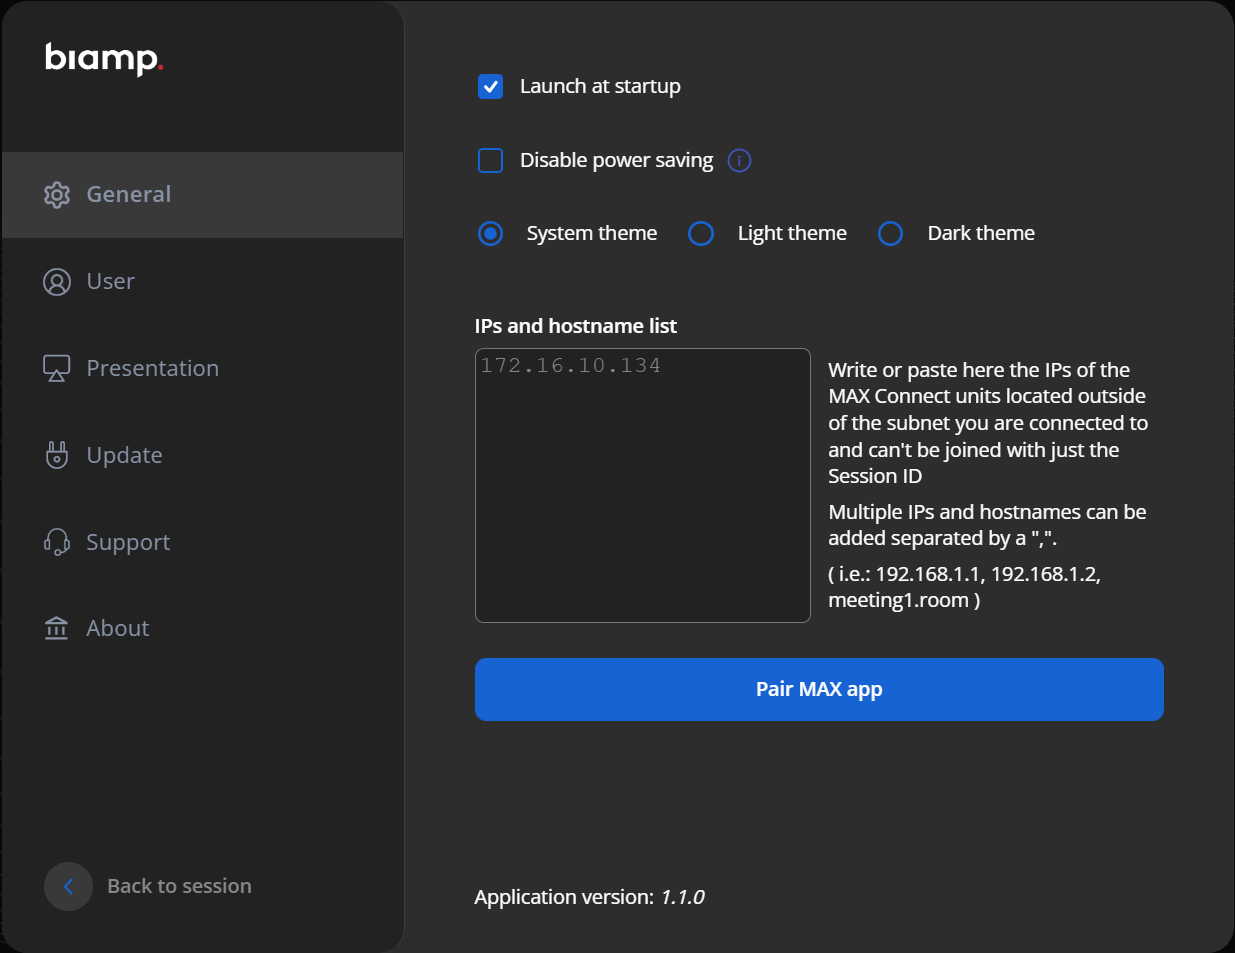
The General settings tab allows the user to:
The user can enter a display name and upload a profile image.
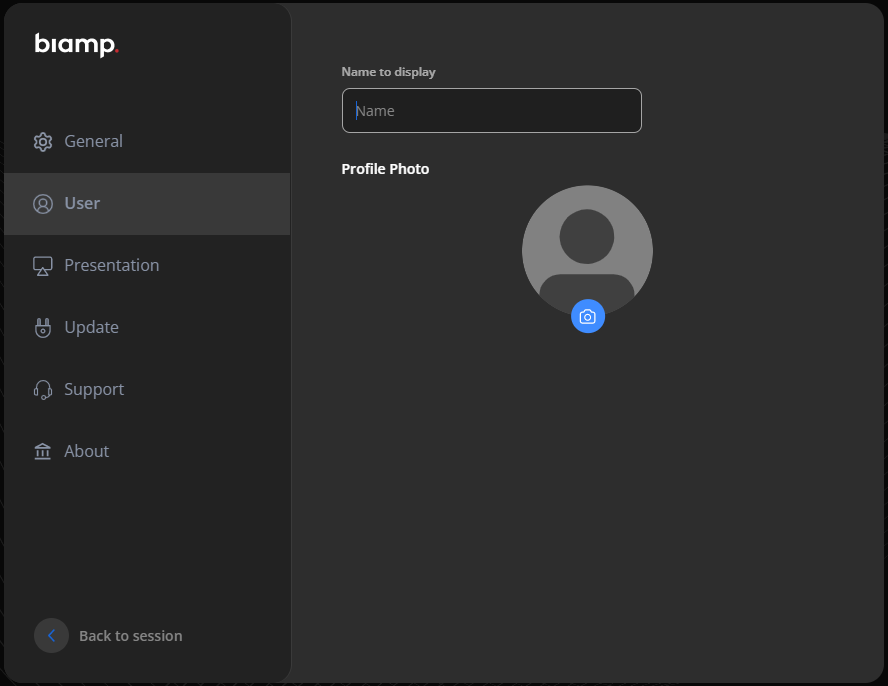
There are two options for adding an image. Both are accessed by clicking on the Camera button located at the bottom of the Profile Photo page element.
Option 1: Select an image from your device.
Option 2: Take a picture using your device.
Remove photo: To remove a user photo, click on the same Camera Button.
GPU hardware acceleration can be enabled by checking the Enable box for faster and more responsive performance.
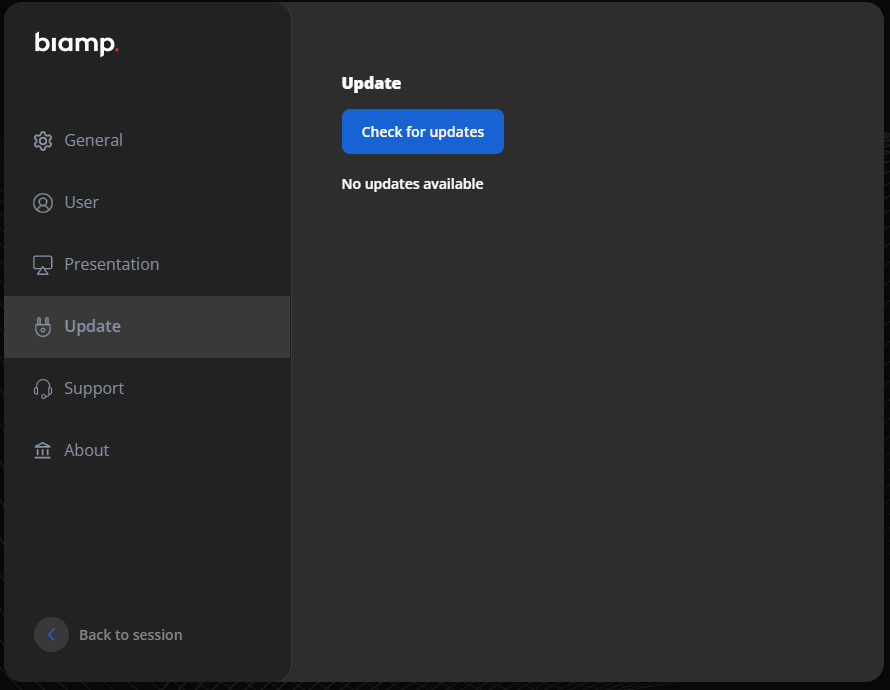
Use this tab to check for firmware updates.
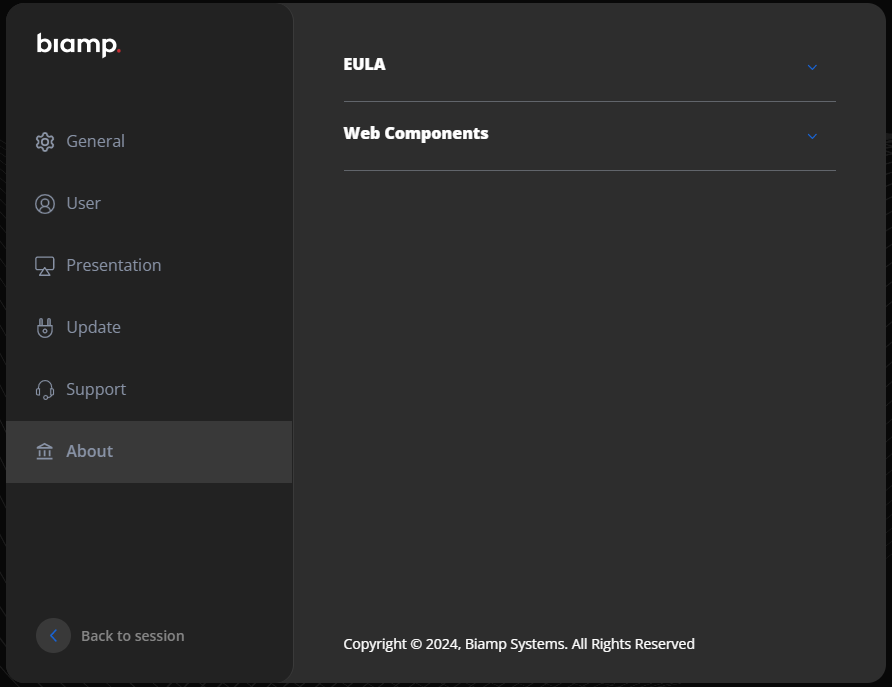
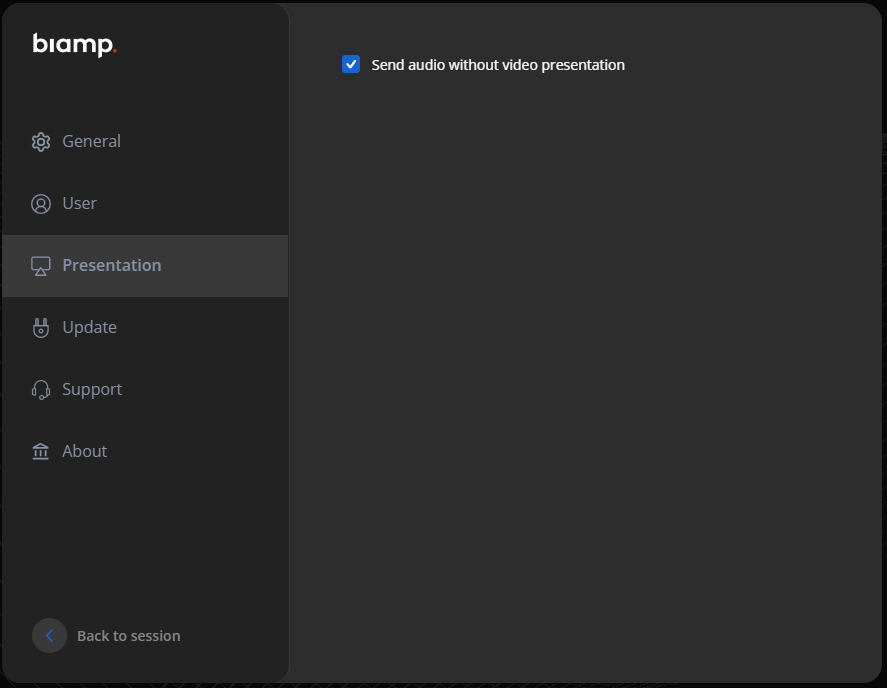
On this tab, users may:
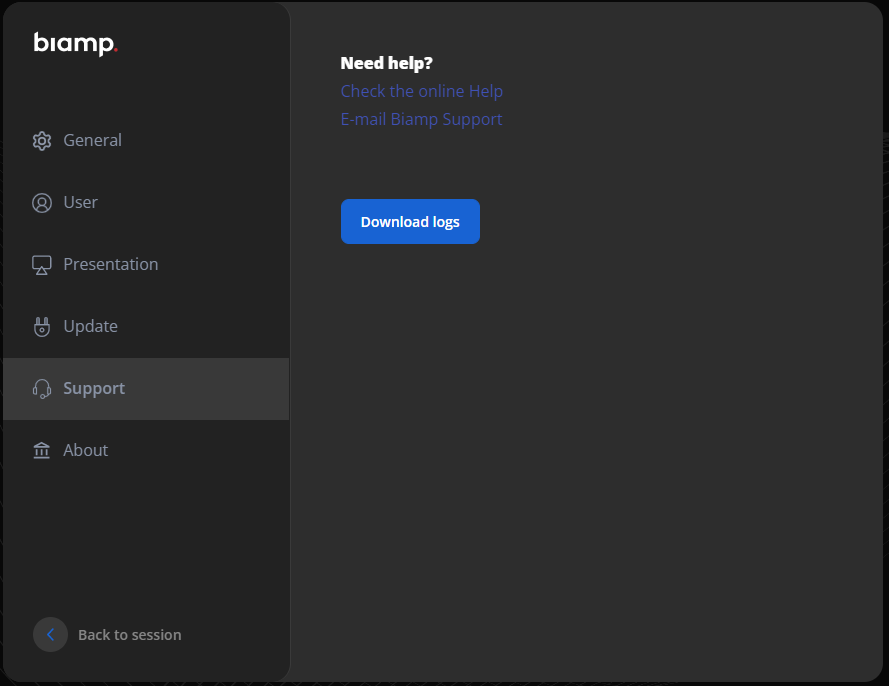
On this tab, users can download: